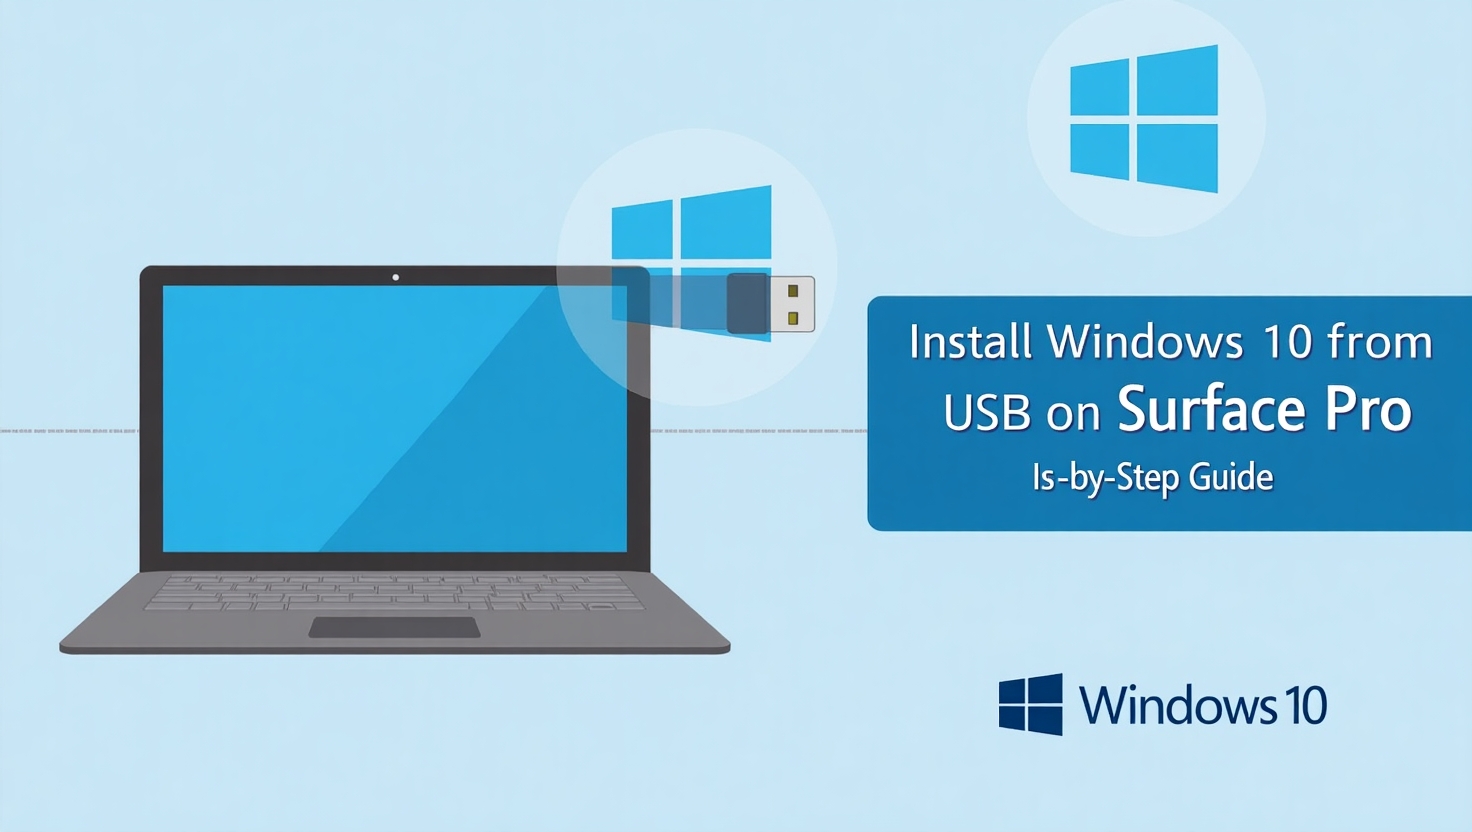
Want to reinstall or clean install Windows 10 on your Surface Pro using a USB drive?
Whether you’re fixing issues, wiping your device for resale, or upgrading, installing Windows 10 from a bootable USB is a smart, clean, and fast way to go.
In this step-by-step article, you’ll learn:
How to prepare a USB for Windows 10
How to boot your Surface Pro from USB
How to install Windows 10 cleanly and safely
Tips to activate your OS legally after installation
Let’s begin.
🧰 What You’ll Need
Before starting the installation, make sure you have:
✅ A working Surface Pro (any model)
✅ A USB flash drive (8GB or more)
✅ A second computer (to create the USB installer)
✅ A stable internet connection
✅ A Windows 10 product key (buy from Keyvato.com if needed)
📥 Step 1: Create a Bootable Windows 10 USB
Use Microsoft’s official tool to prepare your USB.
On another working PC:
Click Download tool now
Launch the tool and choose “Create installation media (USB flash drive)”
Select language, edition (Windows 10), and architecture (64-bit)
Choose USB flash drive, then select your USB
Let it complete the download and creation process
📝 Tip: All existing data on the USB will be erased, so back it up first.
🔄 Step 2: Boot Surface Pro from USB
Now plug the USB into your Surface Pro and boot from it.
Here’s how:
Turn off your Surface Pro completely
Press and hold the Volume Down button
While holding it, press and release the Power button
Release the Volume Down button when the Surface logo appears
The device should now boot from the USB and load Windows Setup
🧩 Step 3: Install Windows 10
Once in the setup screen:
Select your language, time, and keyboard layout, then click Next
Click Install Now
Enter your product key, or choose “I don’t have a product key” if you’ll activate later
Choose Custom: Install Windows only (advanced)
Select the partition to install Windows on (usually Drive 0)
You may delete old partitions if doing a full clean install
Click Next and the installation will begin
Your Surface Pro will restart several times during installation.
🔑 Step 4: Activate Windows 10
Once the installation is complete, activate your system.
Two ways:
If you entered a product key earlier, activation is automatic
If not, go to:
Settings > Update & Security > Activation > Change Product Key
💡 Don’t have a key yet?
👉 Buy an affordable, genuine key from Keyvato.com with instant delivery and full support.
💡 Tips After Installation
🔄 Run Windows Update to get the latest drivers and patches
🧰 Install Surface firmware from Microsoft Surface Support
🛡️ Enable Windows Defender or install security software
☁️ Sign in with your Microsoft account to sync settings and files
🛒 Where to Buy a Genuine Windows 10 Key?
After installing, you’ll need a valid product key to activate Windows.
At Keyvato.com, we offer:
✅ 100% Genuine Windows 10 Pro OEM keys
💸 Low-cost, legal, and secure
📩 Instant email delivery
💬 Lifetime activation support
👉 Buy Now and get activated in minutes!
📌 Final Thoughts
Installing Windows 10 from USB on your Surface Pro is straightforward if you follow the right steps. Skip the shady tools — do it clean and safe.
Whether you’re setting up a new device, fixing problems, or giving your Surface Pro a fresh start, this guide gets the job done right.


